 After much anticipation I've finally got my new/used headlights installed. I made a plan for Friday night for the install time. I picked up some wings for the "event" which I entitled "wings and workings". The headlights were the primary agenda, followed by OEM taillights, and possibly Harmon Kardon 6x9s for the rear. These were in original OEM boxes and were on good shape. The speaker installation is super straight forward but, I'll save that for later.
My good friends Eric and Jeremy came over to hang and help with the installations. We all got off to a slow start. Eric decided that my weird indie dance music Pandora station was not up to par. He created some 80s montage station which was actually pretty good. So with some food in our bellies and some decent tunes we got to it.
Headlights
 Jeremy started by helping remove the eBay headlights. There were four 8mm bolts holding the lights in. One left and right, and two on top.
The passenger side light cover was separating from the housing. Jeremy discovered it was a broken clip on the underside. He was able to pull them apart very easily.

Thankfully these eBay lights also came with harnesses so, not hacked wiring. Nice!
 The halos that were wired into the corner light housing were soldered in place. This was nice because I could wire my city lights using the same cables. Since there were two sets of halos on the one headlight I had four total wires. I only needed two. I clipped the two extras off and wrapped the wires in electrical tape.
The other two were used for the city light. Black to black, brown to white. Some solder and some heat shrink later and I have working city lights and a clean install.


Rear tail lights
So I'm told that rear tail lights on these are a hard thing to remove. Eric and Jeremy had to beat out the old lights with a hammer. No seriously, they had to beat them out. The seals seem to adhere themselves quite substantially. We thought they were glued in place.
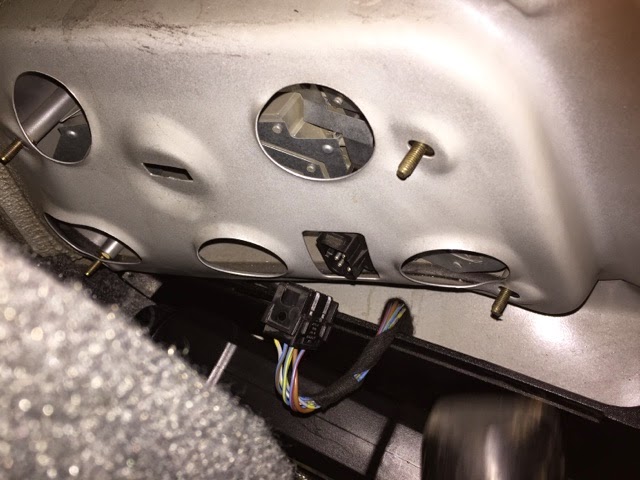
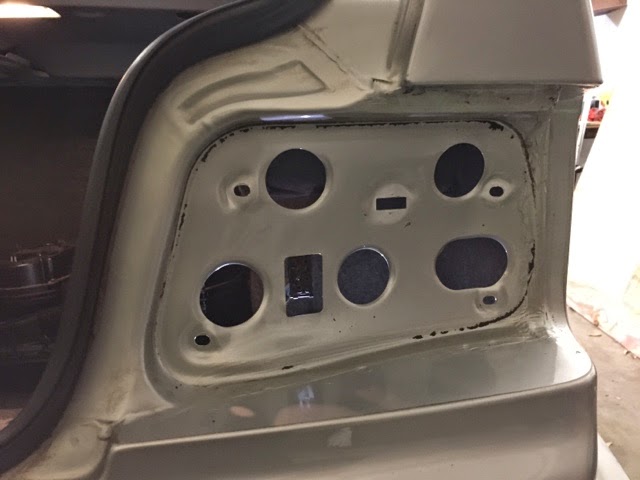
Then, some simple clean up of the area under the lights. Eric made quick work of this. Take the bulbs out of the old tail light, put them in the new/used tail light. Then slide it into place. Bolts back in. Done.


There appeared to be some rusted loose metal in the driver side tail light. It looks like perhaps the remnants of the a reflector perhaps? That was right where the crack in the housing was. You can also see where the rust had started eating through the metal on the backside of the light. This is where the bulbs make contact to get their power. My On Board Computer (OBC) would always tell me I had a tail light out. Not anymore! Except sometimes if it's cold and raining. Anyways, I'm happy to have a set of stock, not broken tails out back.
No comments:
Post a Comment